6 minutes
Projection Painting Prototype
Executive Summary
The structure of the canvas, mixing colors right on the canvas, layer after layer and letting the coincidence help is what makes traditional painting so powerful. However, as a nerdophile person I often miss the undo button and the color wheel of the digital world.
Luckily, I came across the processing movement turning code into art and vice versa. The perfect base to combine vivid richness of painted structure with the interactive and dynamic power of code. In fact, I had the idea of creating a painting hanging in a local club and each time someone enters or leaves the room the color palette of the painting changes.
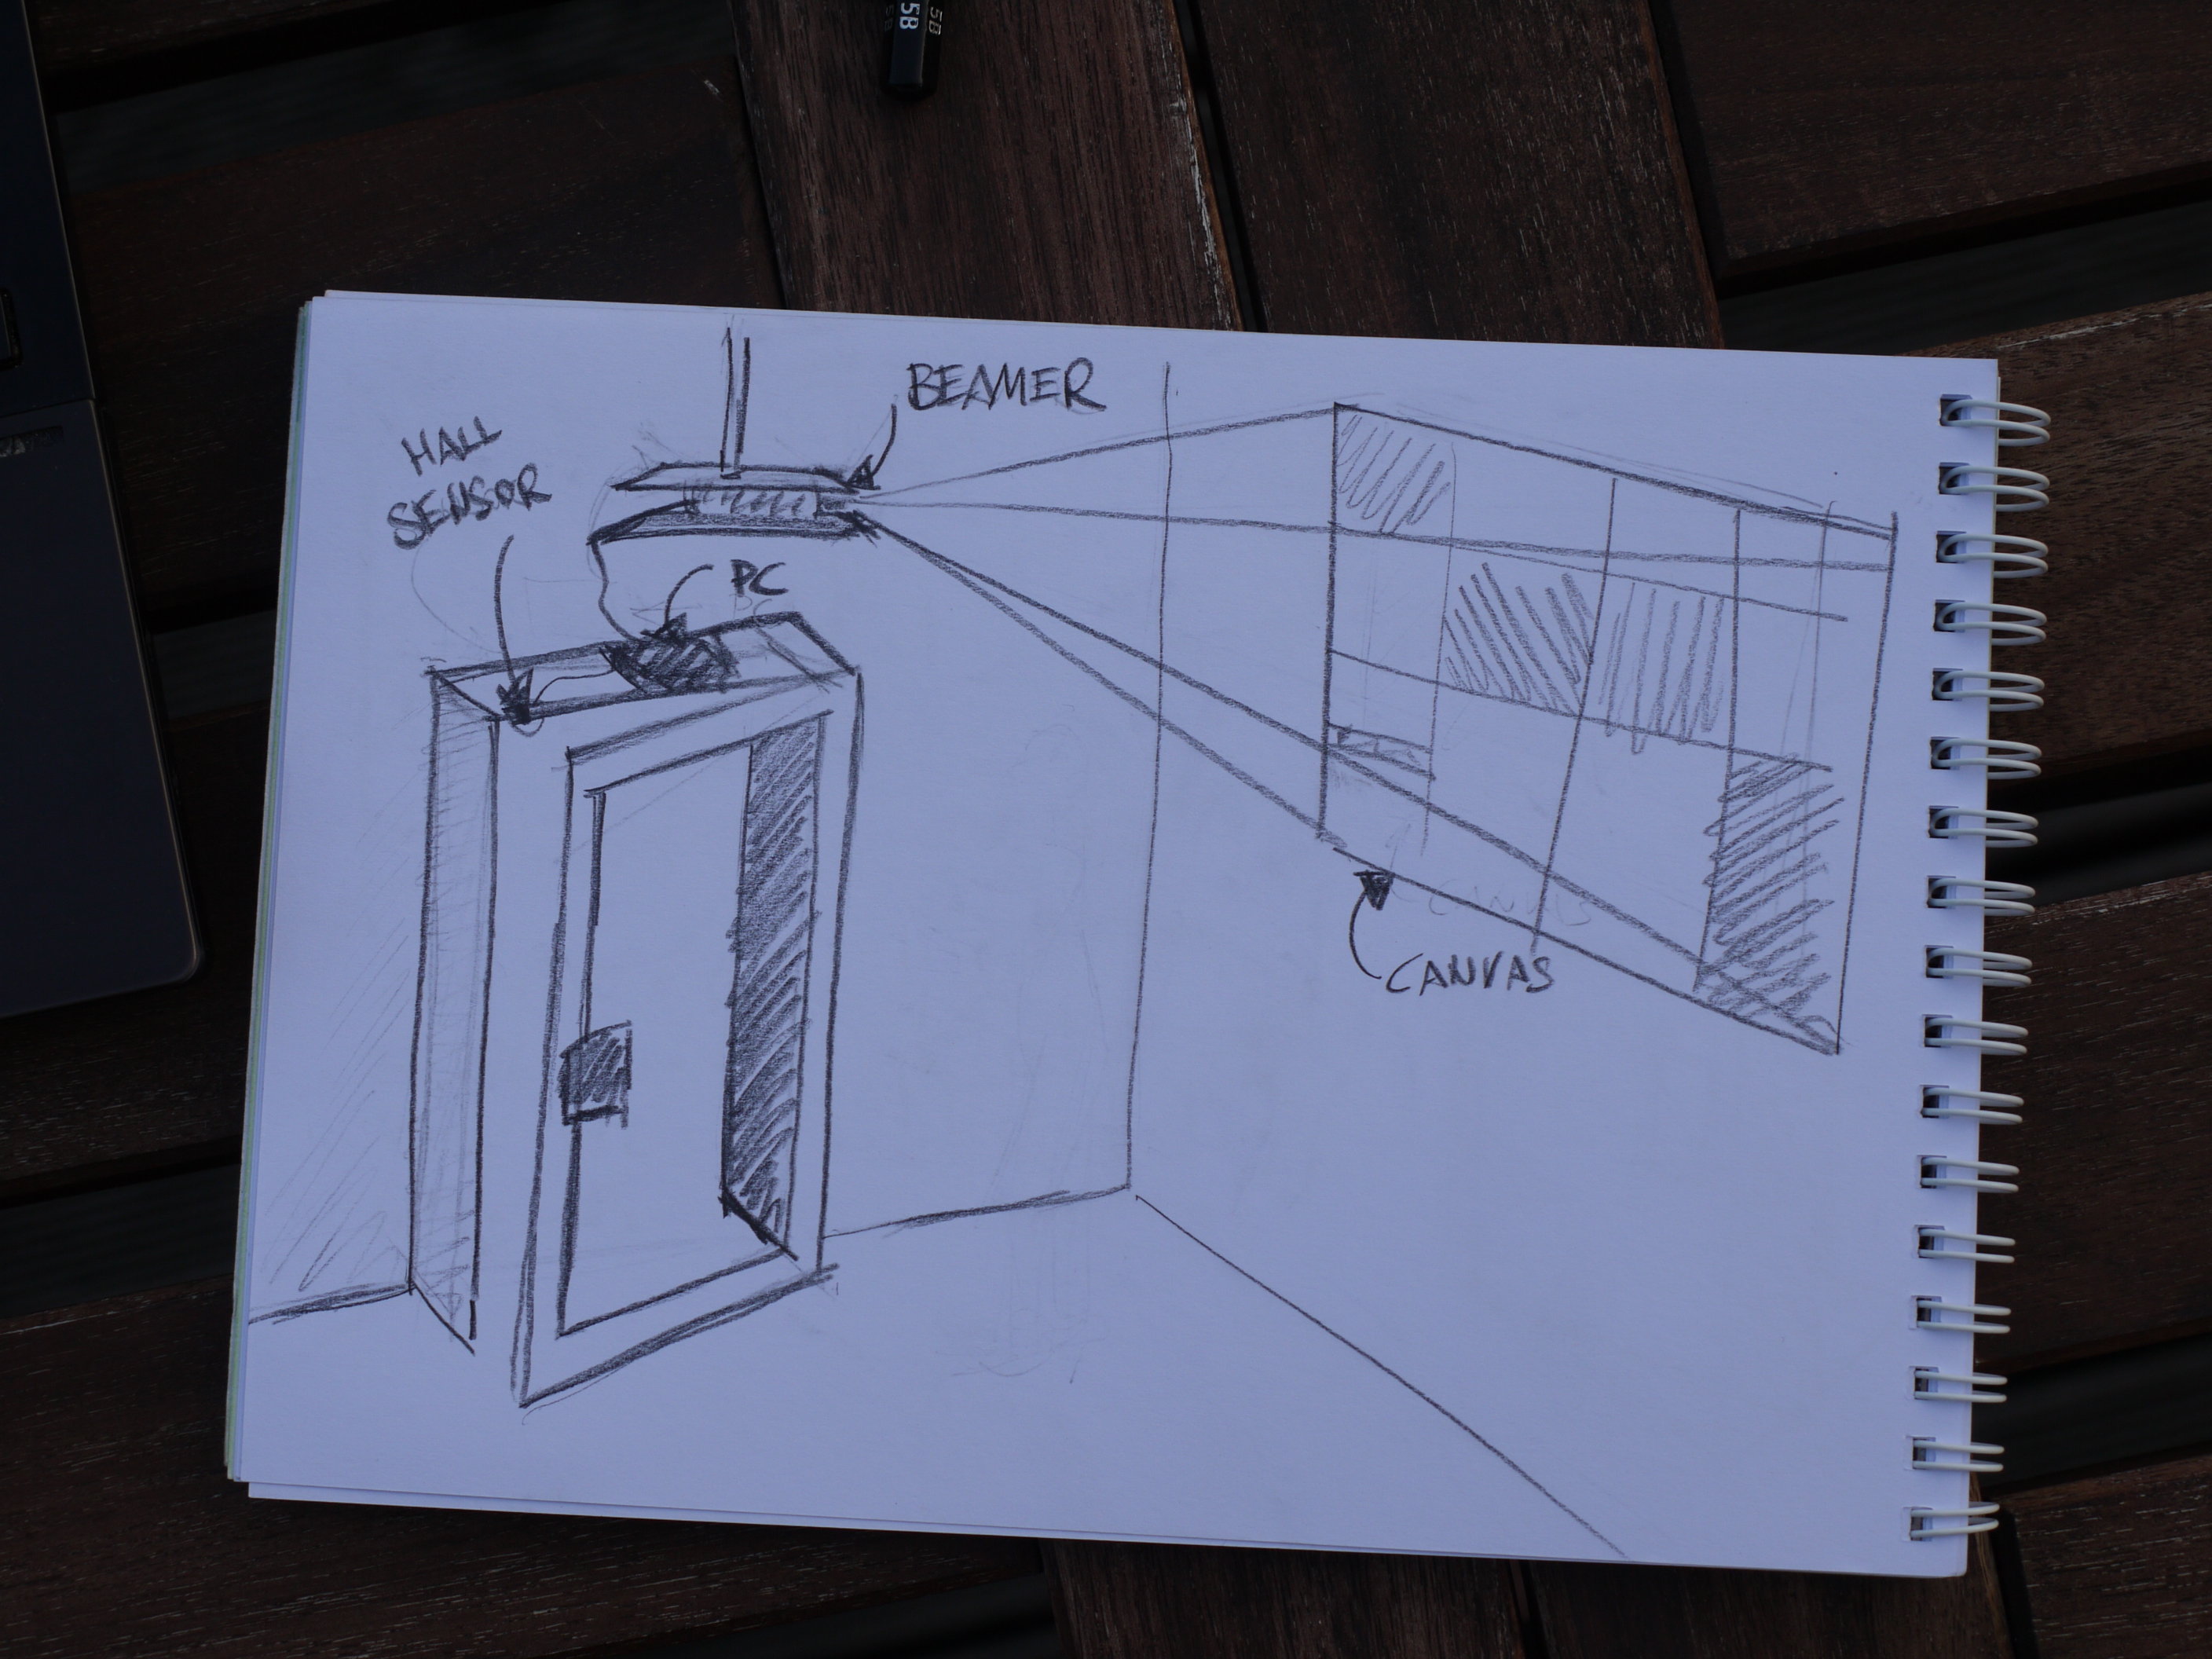
So I bought a Philips PPX2450 PicoPix beamer, grabbed my Arduino uno, a hall effect sensor, some acrylic colors and a 120x80cm canvas. Two months later I am looking at a fully functional prototype with both worlds combined. I’ve built my first processing application, overcome keystoning and mapped my virtual picture to my real one.
The teamplay of code and canvas enables me to visualize data or interactions in physical space.
The following chapters descirbe how I did it in detail and therefore are pretty boring. Anyway, I found so much help in the online communities that this is the least I can do to help others out. The script itself is available at github: https://github.com/sektionschef/proiezione
Realisation
Sketches and Painting
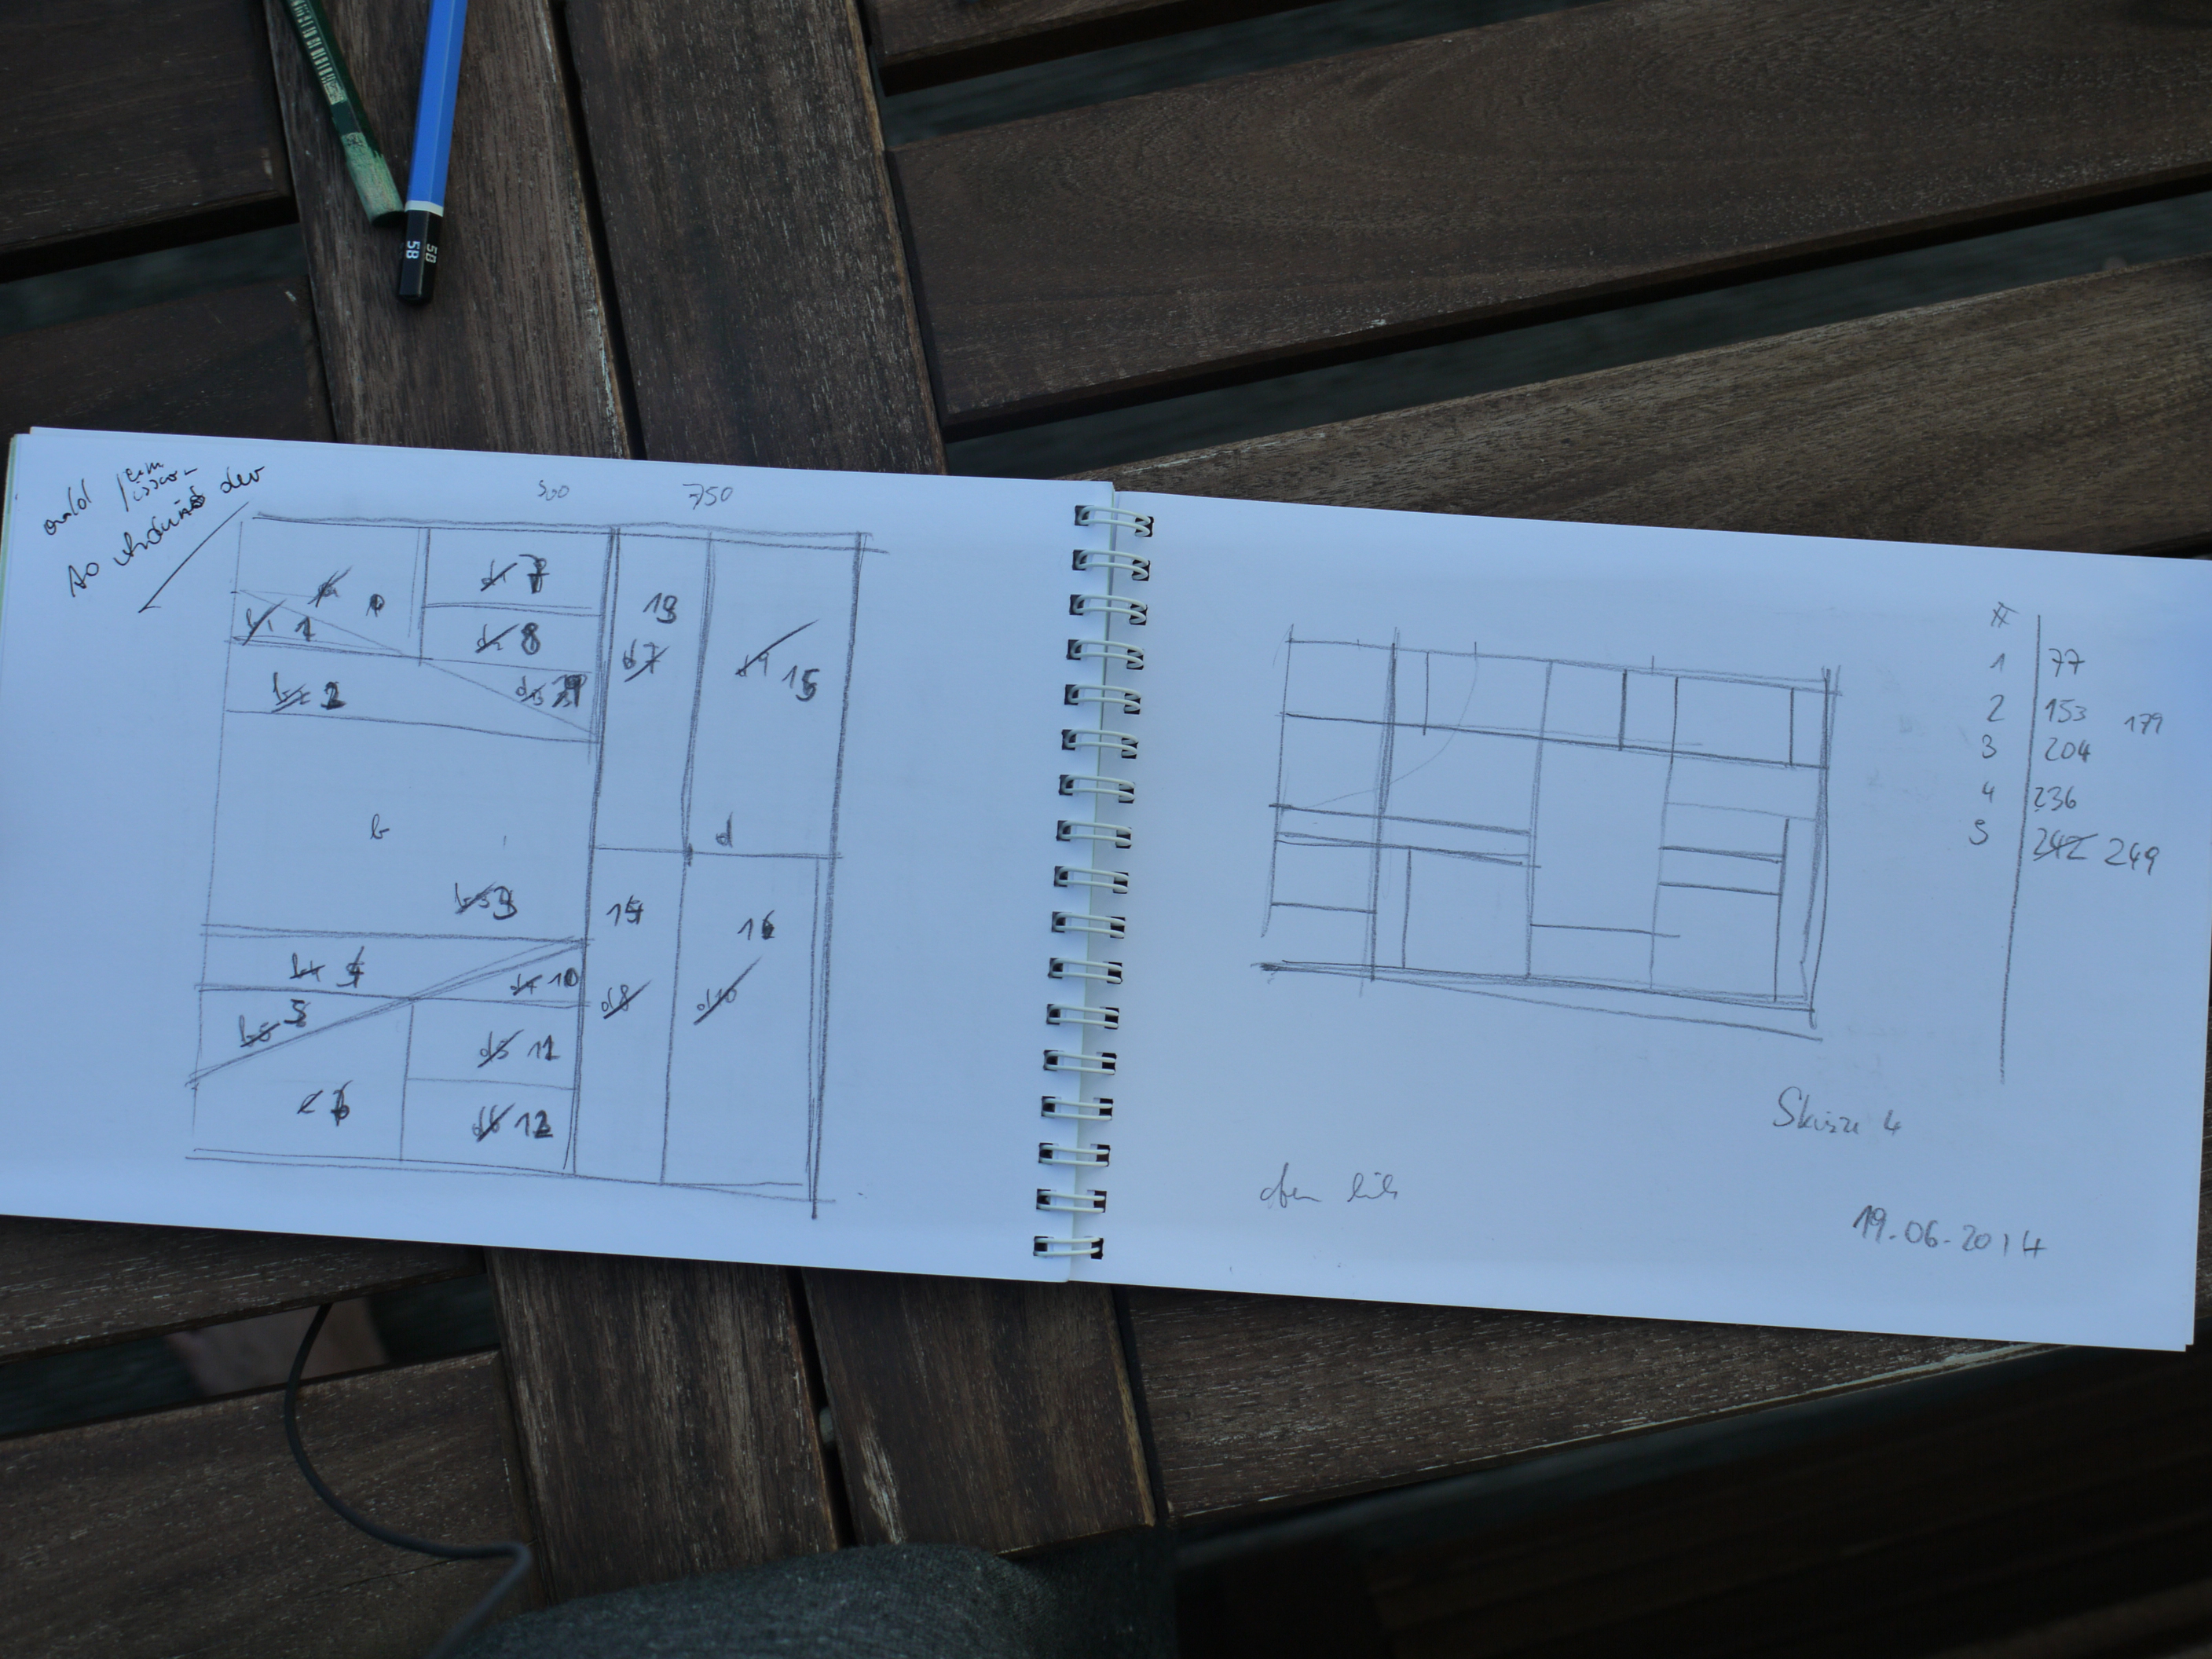
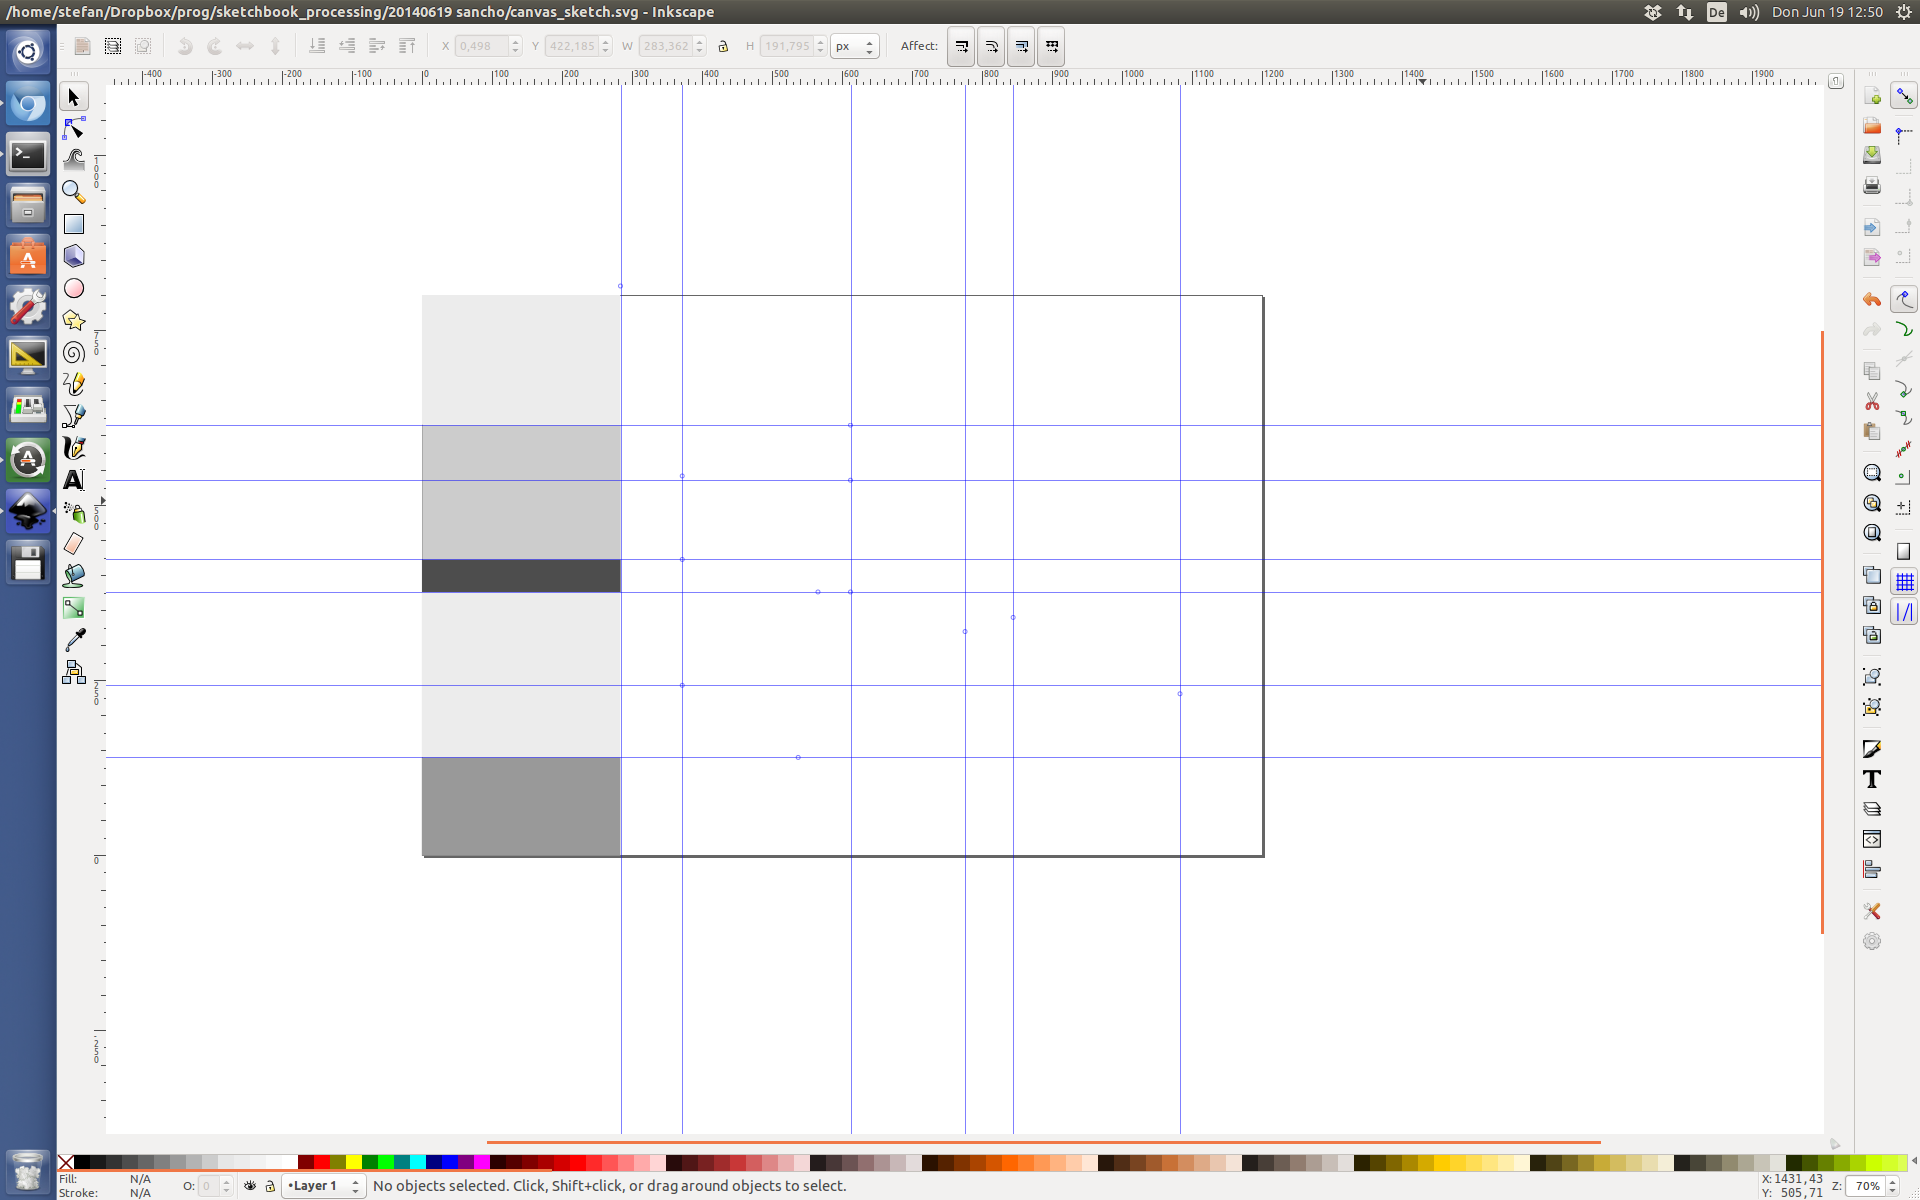
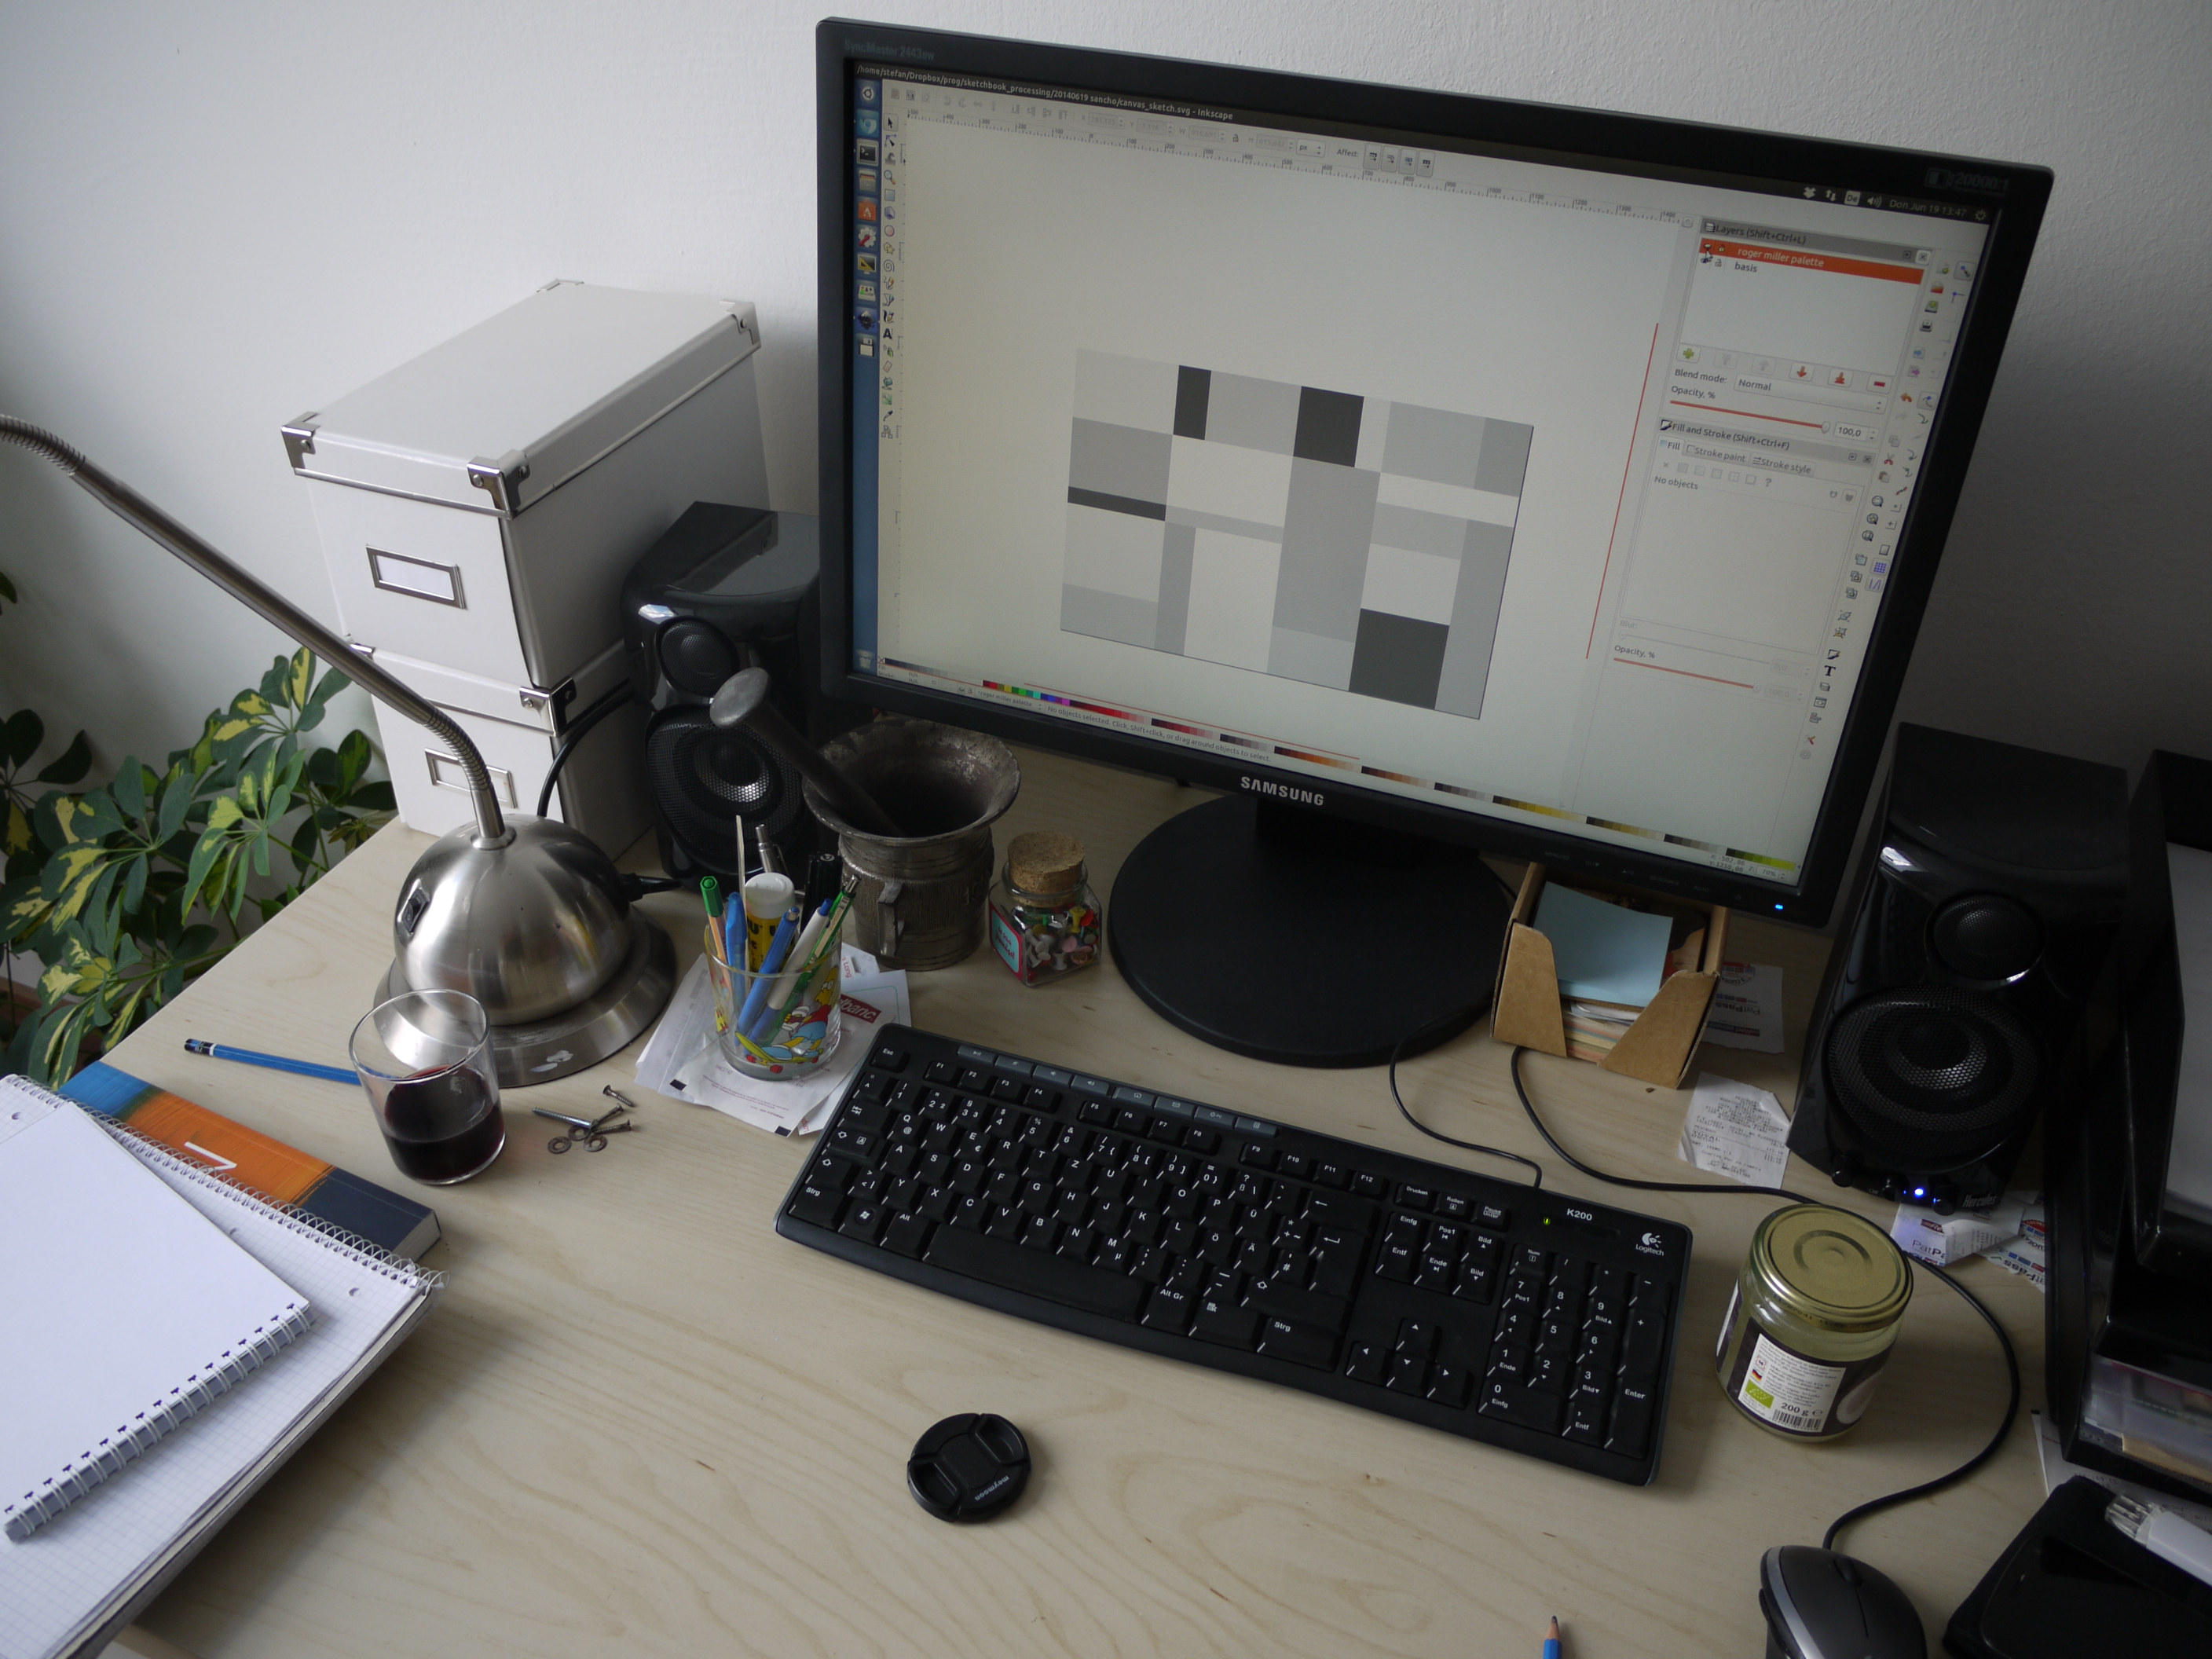
First of all I made a paper pencil sketch for the image. Then, I transfered the real sketch to a virtual svg using inkscape (keeping the same aspect ratio, 120:80). I drew the grid and then filled it up with rectangles in five different colors. The svg helped me to decide the relative color differences. For this purpose (and also later on in processing) I switched to the HSV color model.
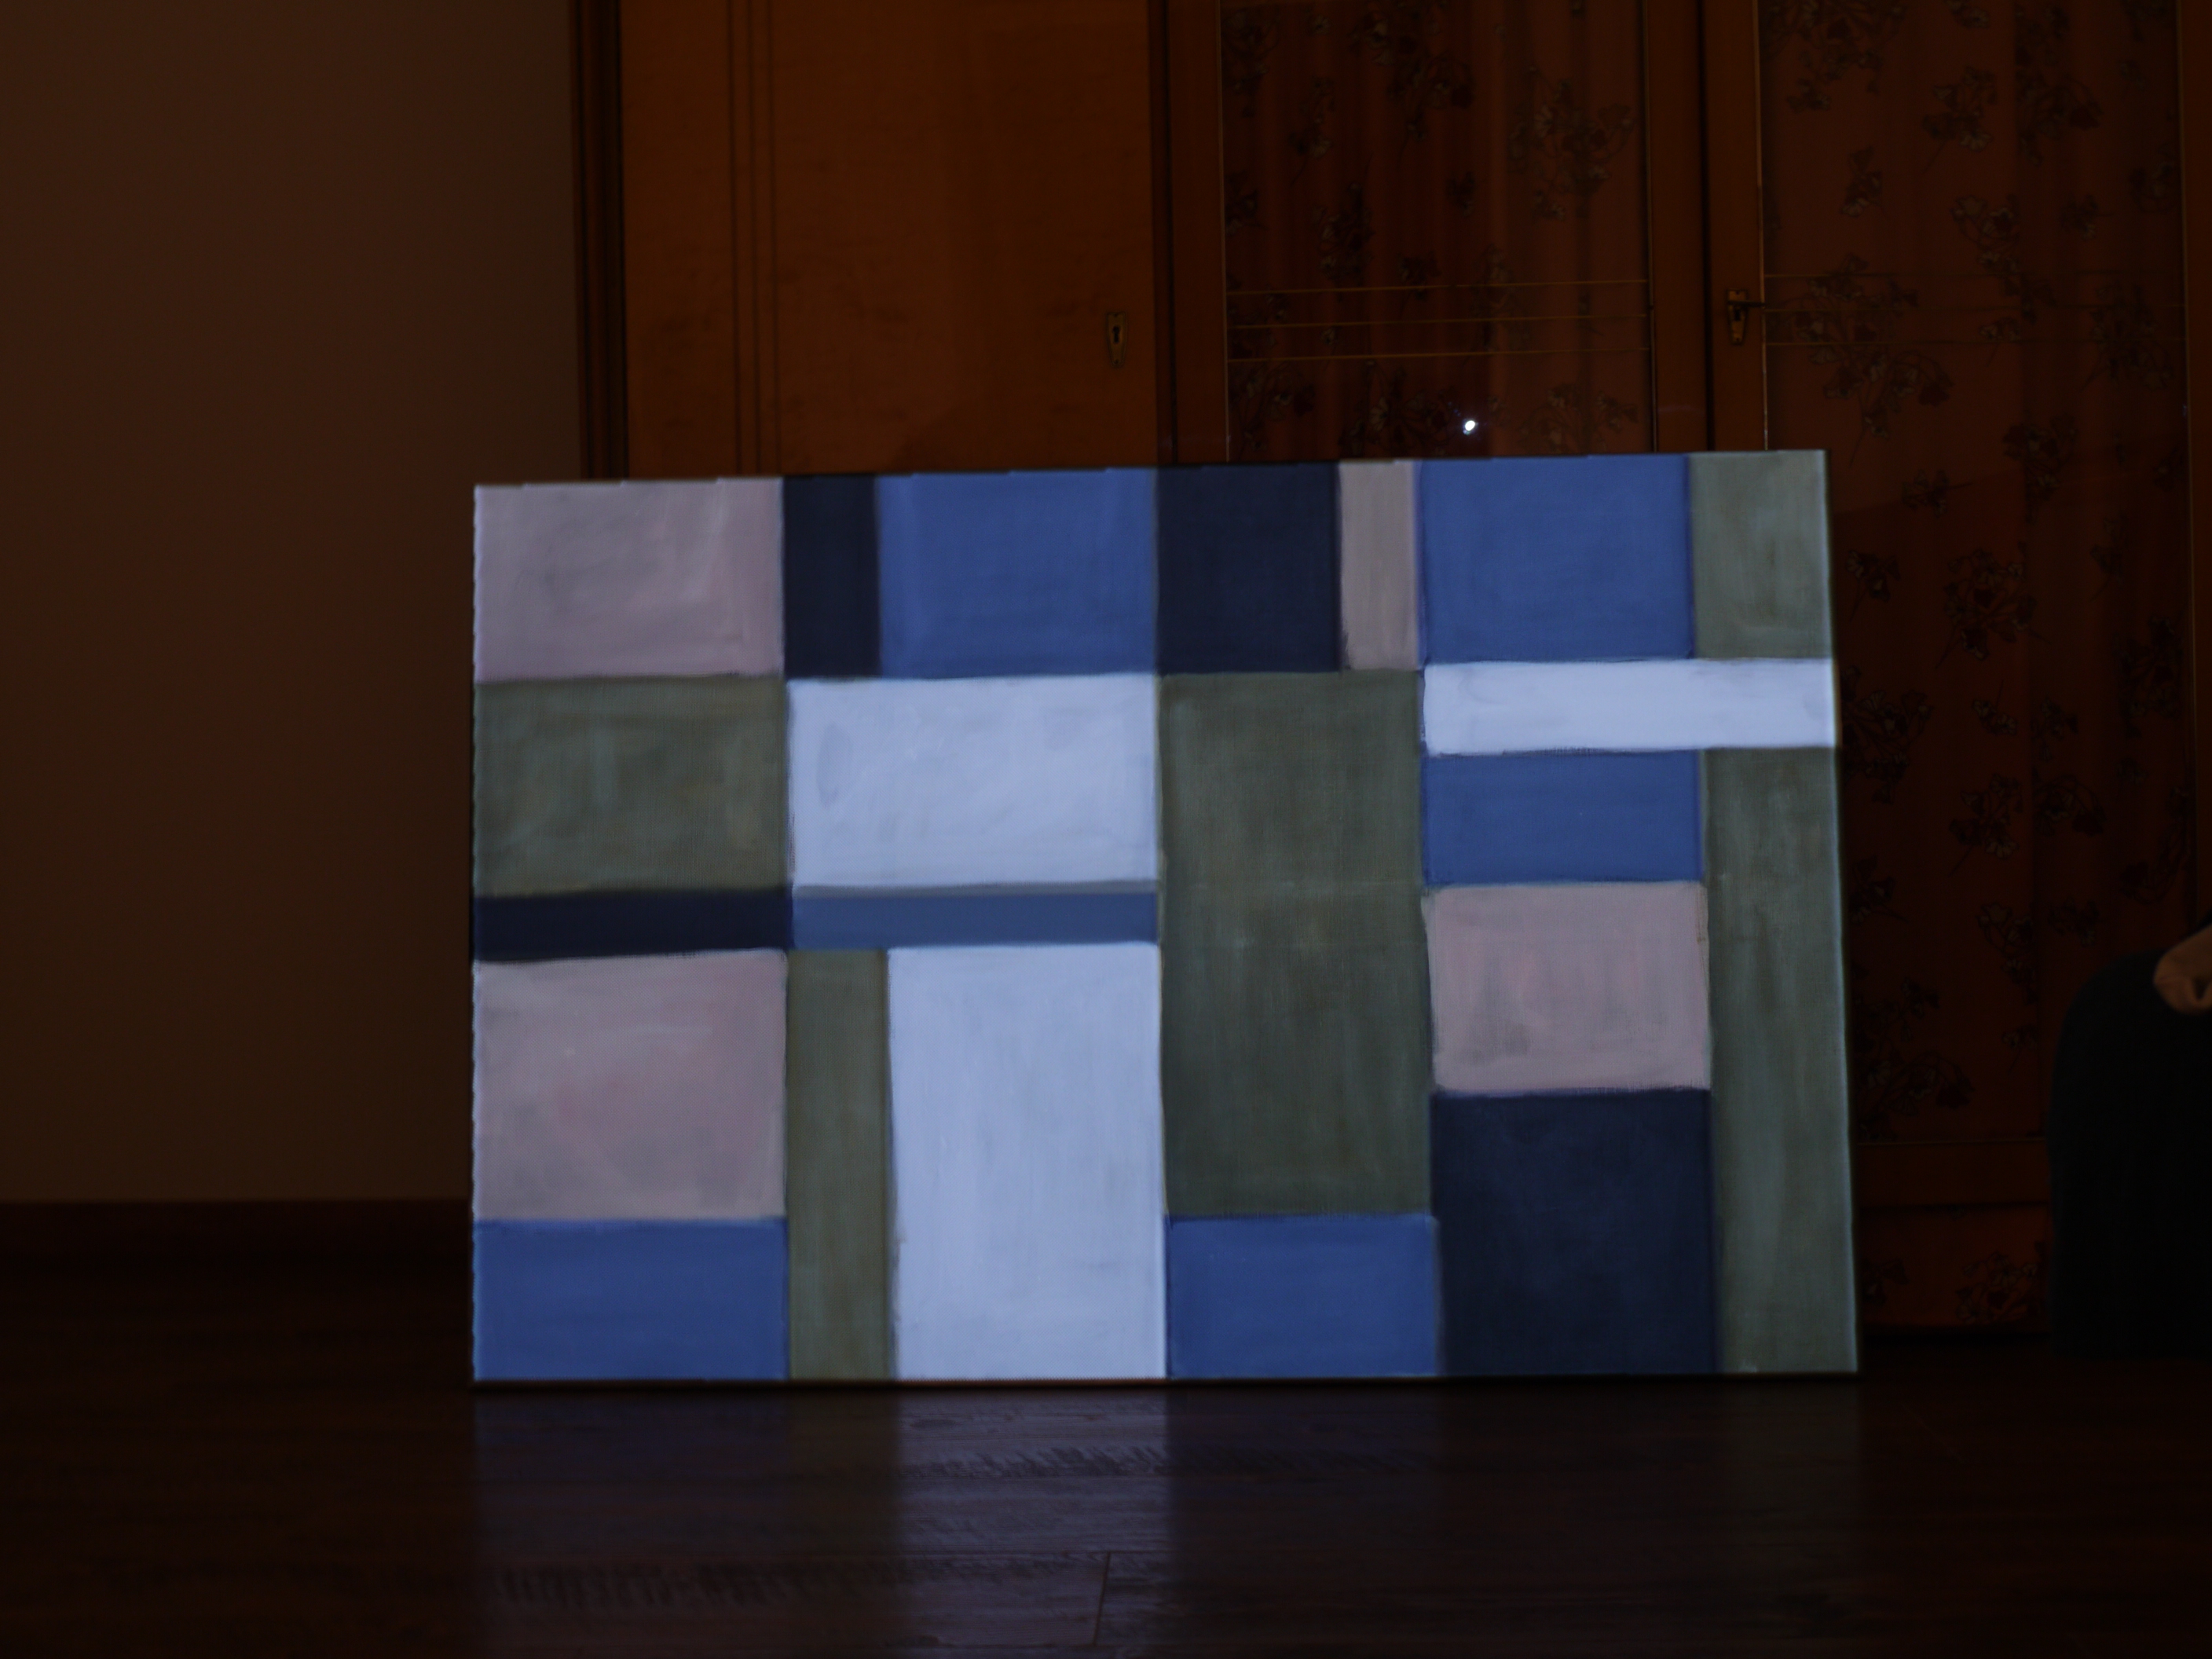
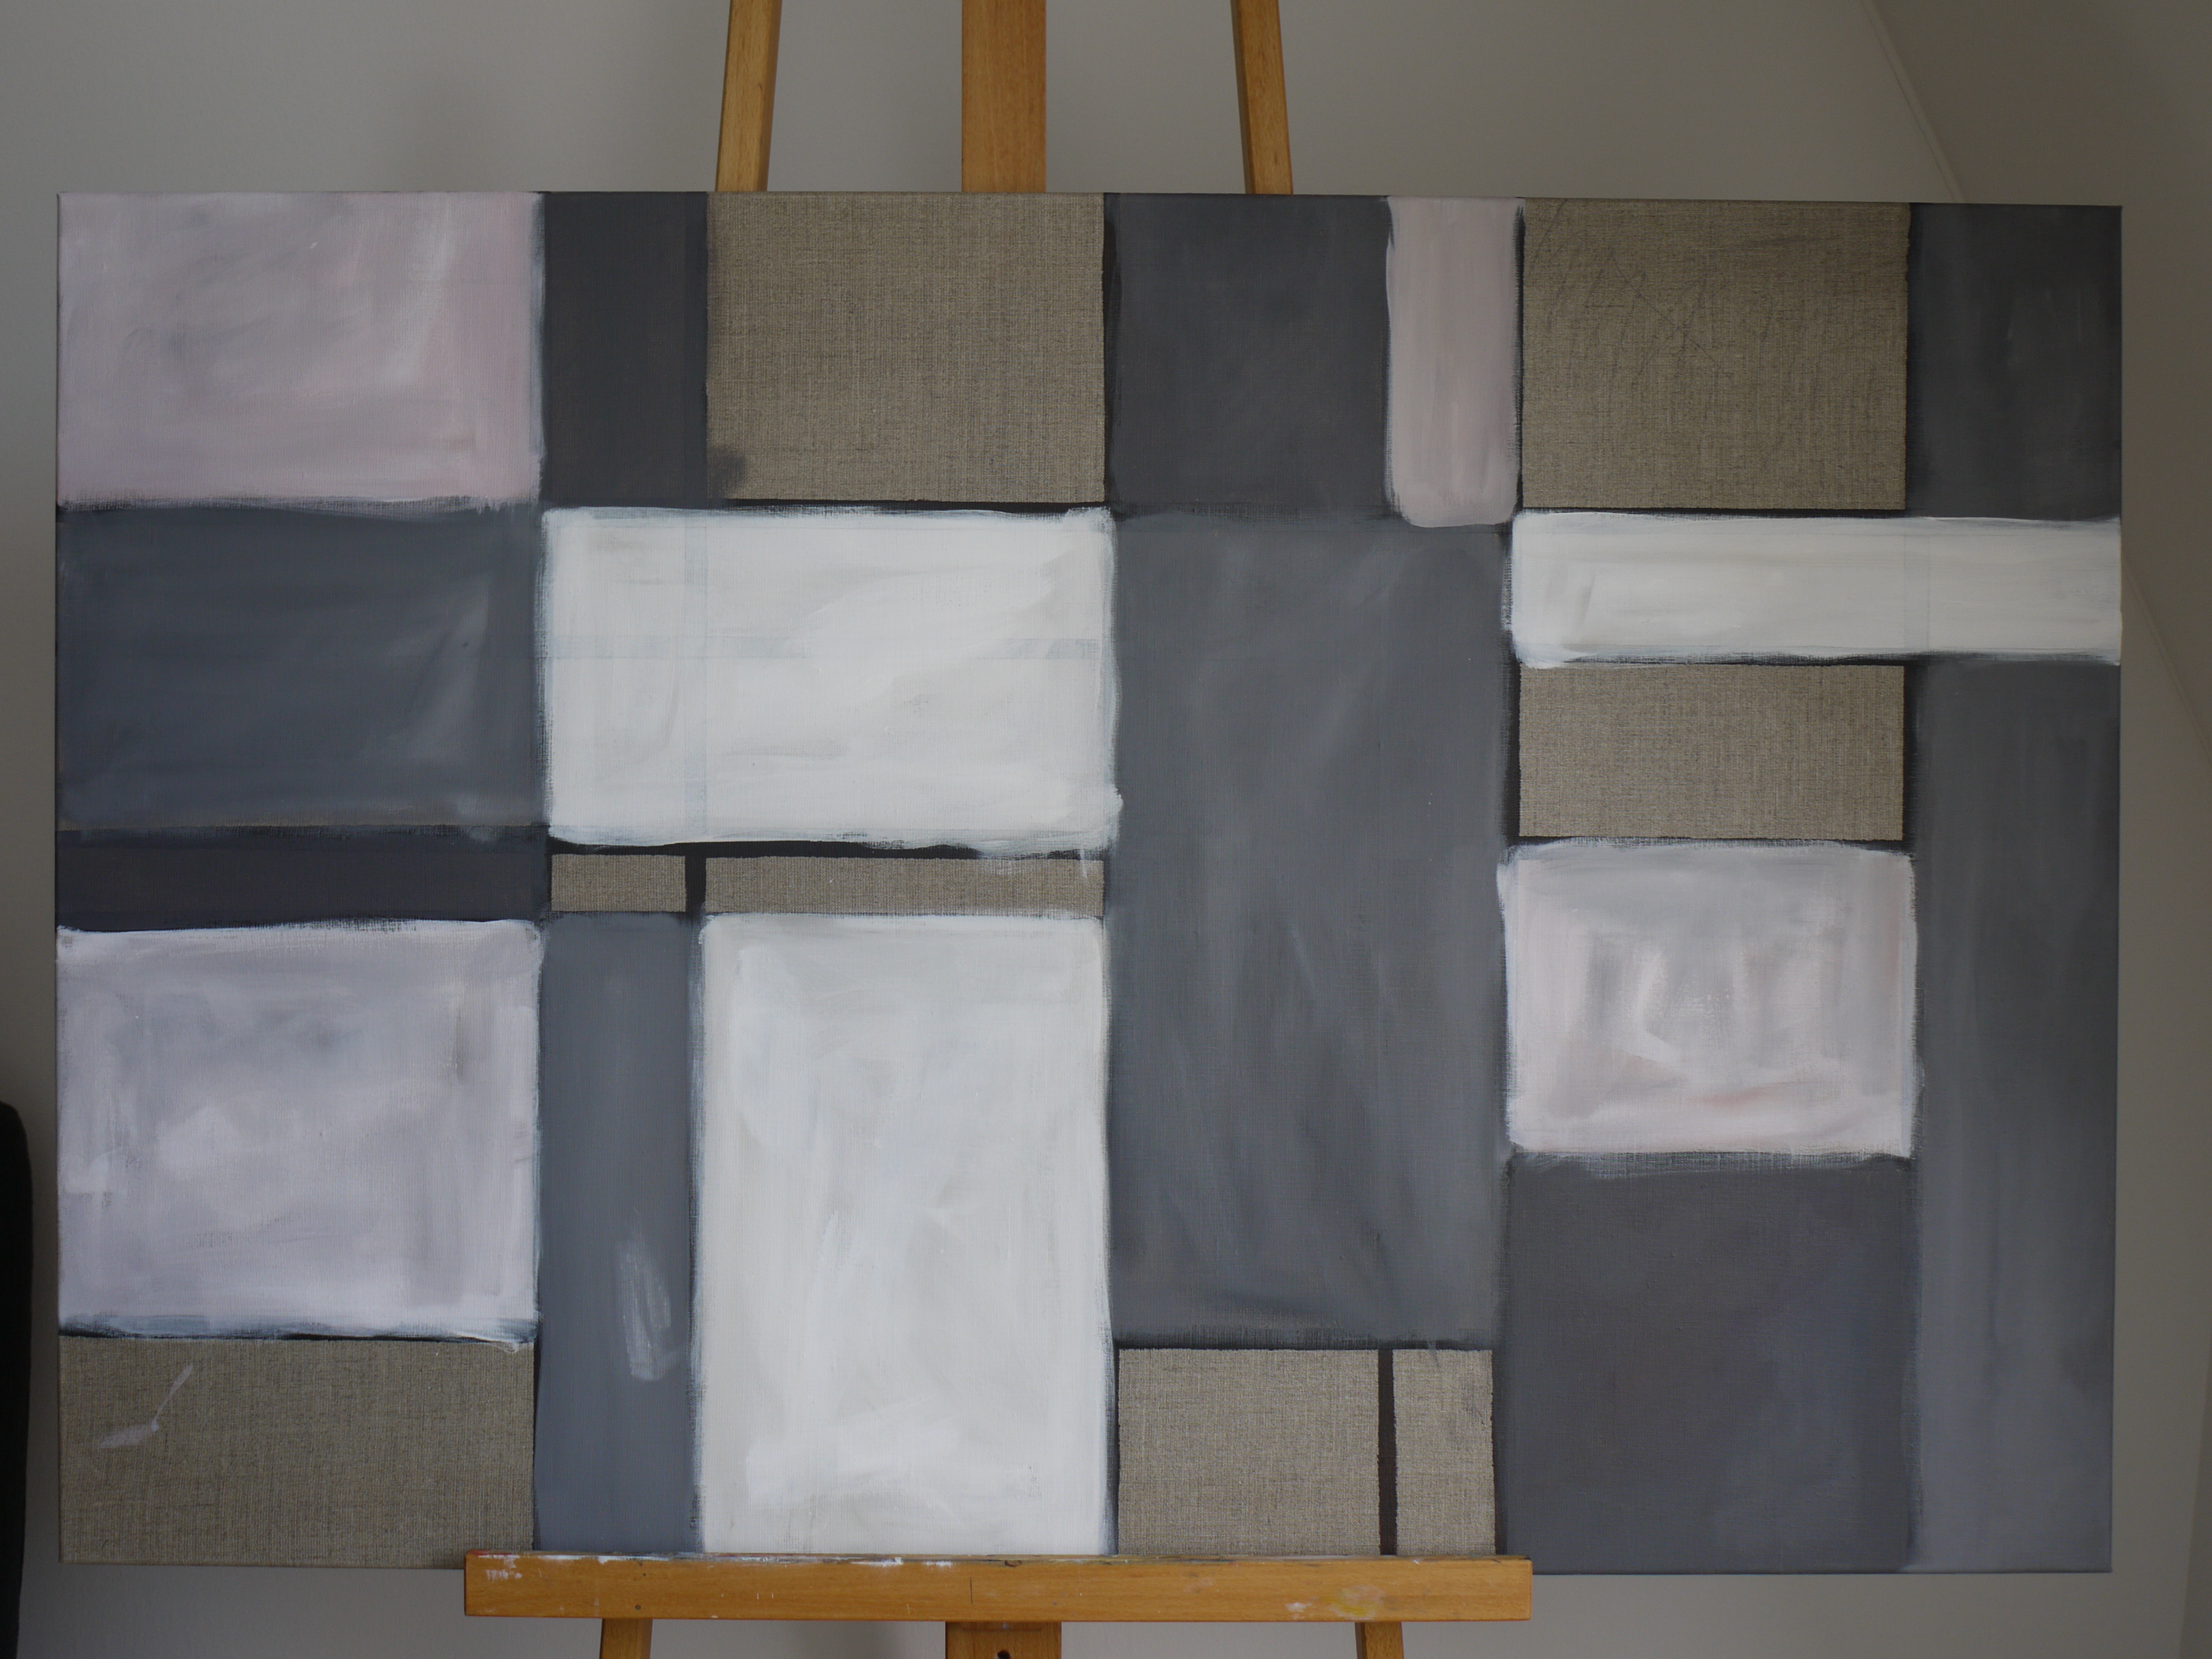
I’ve seen in a first attempt that exotic color combinations (beamer colors and acrylic colors) are not working that great. Due to the limited power of the Pico beamer I wasn’t able to turn a bright yellow into a green nor a red into violet. Most imporantly, the lightness of the surface of the projection is essential: the projection can’t overcome darker tones. For the image itself I painted Sean Scully-like color fields on a 120x80cm canvas. I mapped the exact proportions of the .svg sketch as coordinates to the canvas.


Processing
Processing is open source and the community created lots of tutorials and howtos. I use processing in gvim with the gvim-processing plugin. That’s when I found out about the elegance of pathogen by the way, highly recommend it. One should not forget to make the symbolic link in /usr/bin to the processing-java file in the downloaded processing directory. That took me quite some time to figure out.
sudo ln -s ~/processing-2.2.1/processing-java /usr/bin/processing-java
Arduino with Hall Sensor
Like in the Twetterhaeuschen and the Like Converter firmata comes to the rescue and deals with all the complicated stuff when dealing with arduino. You can download the arduino library in the GUI of the IDE. In Ubuntu or Linux in general the arduino library needs to be renamed from “Arduino.jar” to “arduino.jar” - some case sensitive problem. You find it in the sketchbook folder libraries/arduino/library. Then the arduino board can be controlled directly in processing - here is all the info: http://playground.arduino.cc/Interfacing/processing
Keystoning
A really tricky part in the whole story is perspective. The coordinates of the color fields of svg and canvas are the same but since the beamer is not located right in front of the canvas the distortion of perspective needs to be corrected. That’s mainly what projection mapping is all about, creating visual effects by light and perspective. I tried several solutions, lpmt and a handy proejction mapping tool for processing which was not supported by processing 2.0. Luckily, there was another thing which is in fact quite simple and stable. It gives you the possibility to manipulate the canvas in a three dimensional space - called keystoning. It is readily available in the plugin repository of the processing IDE.
The script
I decided to keep the color palettes in a separate csv file. I had the feeling that I will soon be doing something more extravagant with the color change. With an old-fashioned formula I linked the five colors to all the 22 fields of the painting.
In processing the individual elements of the svg can be loaded as PShape object. They can be addressed with their ID in order to change their appearance. For instance, I needed to scale down the svg. The actual image is drawn on an offscreen surface which can be altered by the mouse after pressing C, thanks to the keystoning library.
The Hall sensor does its job as the edge detection. The circuit is quite easy to accomplish, that one helps: http://www.hobbytronics.co.uk/arduino-tutorial11-hall-effect .
The Projection Setup with Raspberry Pi (under construction)
I was not able to implement the projection using the Raspberry Pi. Obviously, the Raspberry Pi has a problem with P3D as used in keystoning library. First, it complains it can’t load:
failed to open vchiq
Remedy against this:
sudo chmod 777 /dev/vchiq
but then the window is not able to load, here are some references:
Anyway, here is what I tried until I got the error:
- Connect via ssh
- start the Xserver with
startx &
- select where the graphical output should go
export DISPLAY=":0.0"
- launch the sketch via command line (source):
./processing-java --sketch=/home/stefan/sketchbook/proiezione --output=/tmp/processing/test --force --present
Create a VNC server for the existing Xserver (instead of tightvnc who creates a new one)
x11vnc -forever -display :0 -ultrafilexfer
Connect with xtightvncviewer (since vinagre is not working - without any reason). You should be ablet put this all in one command via ssh, if everything works:
ssh tim "DISPLAY=:0 nohup firefox"
(source: http://askubuntu.com/questions/47642/how-to-start-a-gui-software-on-a-remote-linux-pc-via-ssh)
Plan B Lubuntu instead of Raspberry Pi
In Lubuntu fullscreen works, in contrast to Ubuntu’s Unity. I installed Lubuntu on an SD card. This way I can boot to Lubuntu once the SD card is inserted.
Don’t forget to add yourself to the dialout group:
sudo adduser stefan /dev/ttyACM0
Finally, the presentation mode of processing needs some tuning in the form of:
- by closing processing! (important)
- opening .processing/preferences
- edit run.present.bgcolor=#000000 and
- edit run.present.stop.color=#000000
That’s basically it.